
It had been a long time coming. Since the time the Multistrada arrived and became my touring bike, the Tiger was to assume the “adventure” role. I’ve taken the Tiger on several dirt and gravel road rides with its factory equipment and it does fine. But there are a few bolt-on accessories that will help prevent some of the wear and tear the bike gets from riding on gravel roads.

The day I bought it, July 2011
I’ve been reluctant to invest on this bike and get it ready for adventure rides. Many people love the three-cylinder motor, and yes it is great and all. But it is more akin to a four-in-line than a single-cylinder, it feels more like a street bike. Eventually I got to a point where I had to make a decision: sell it or give it another chance? I decided for the latter, invest a few dollars now, decide later on the future of this bike. At least I wanted to have it ready for when that trip to Alaska, Colorado or the Mexican Baja materializes.
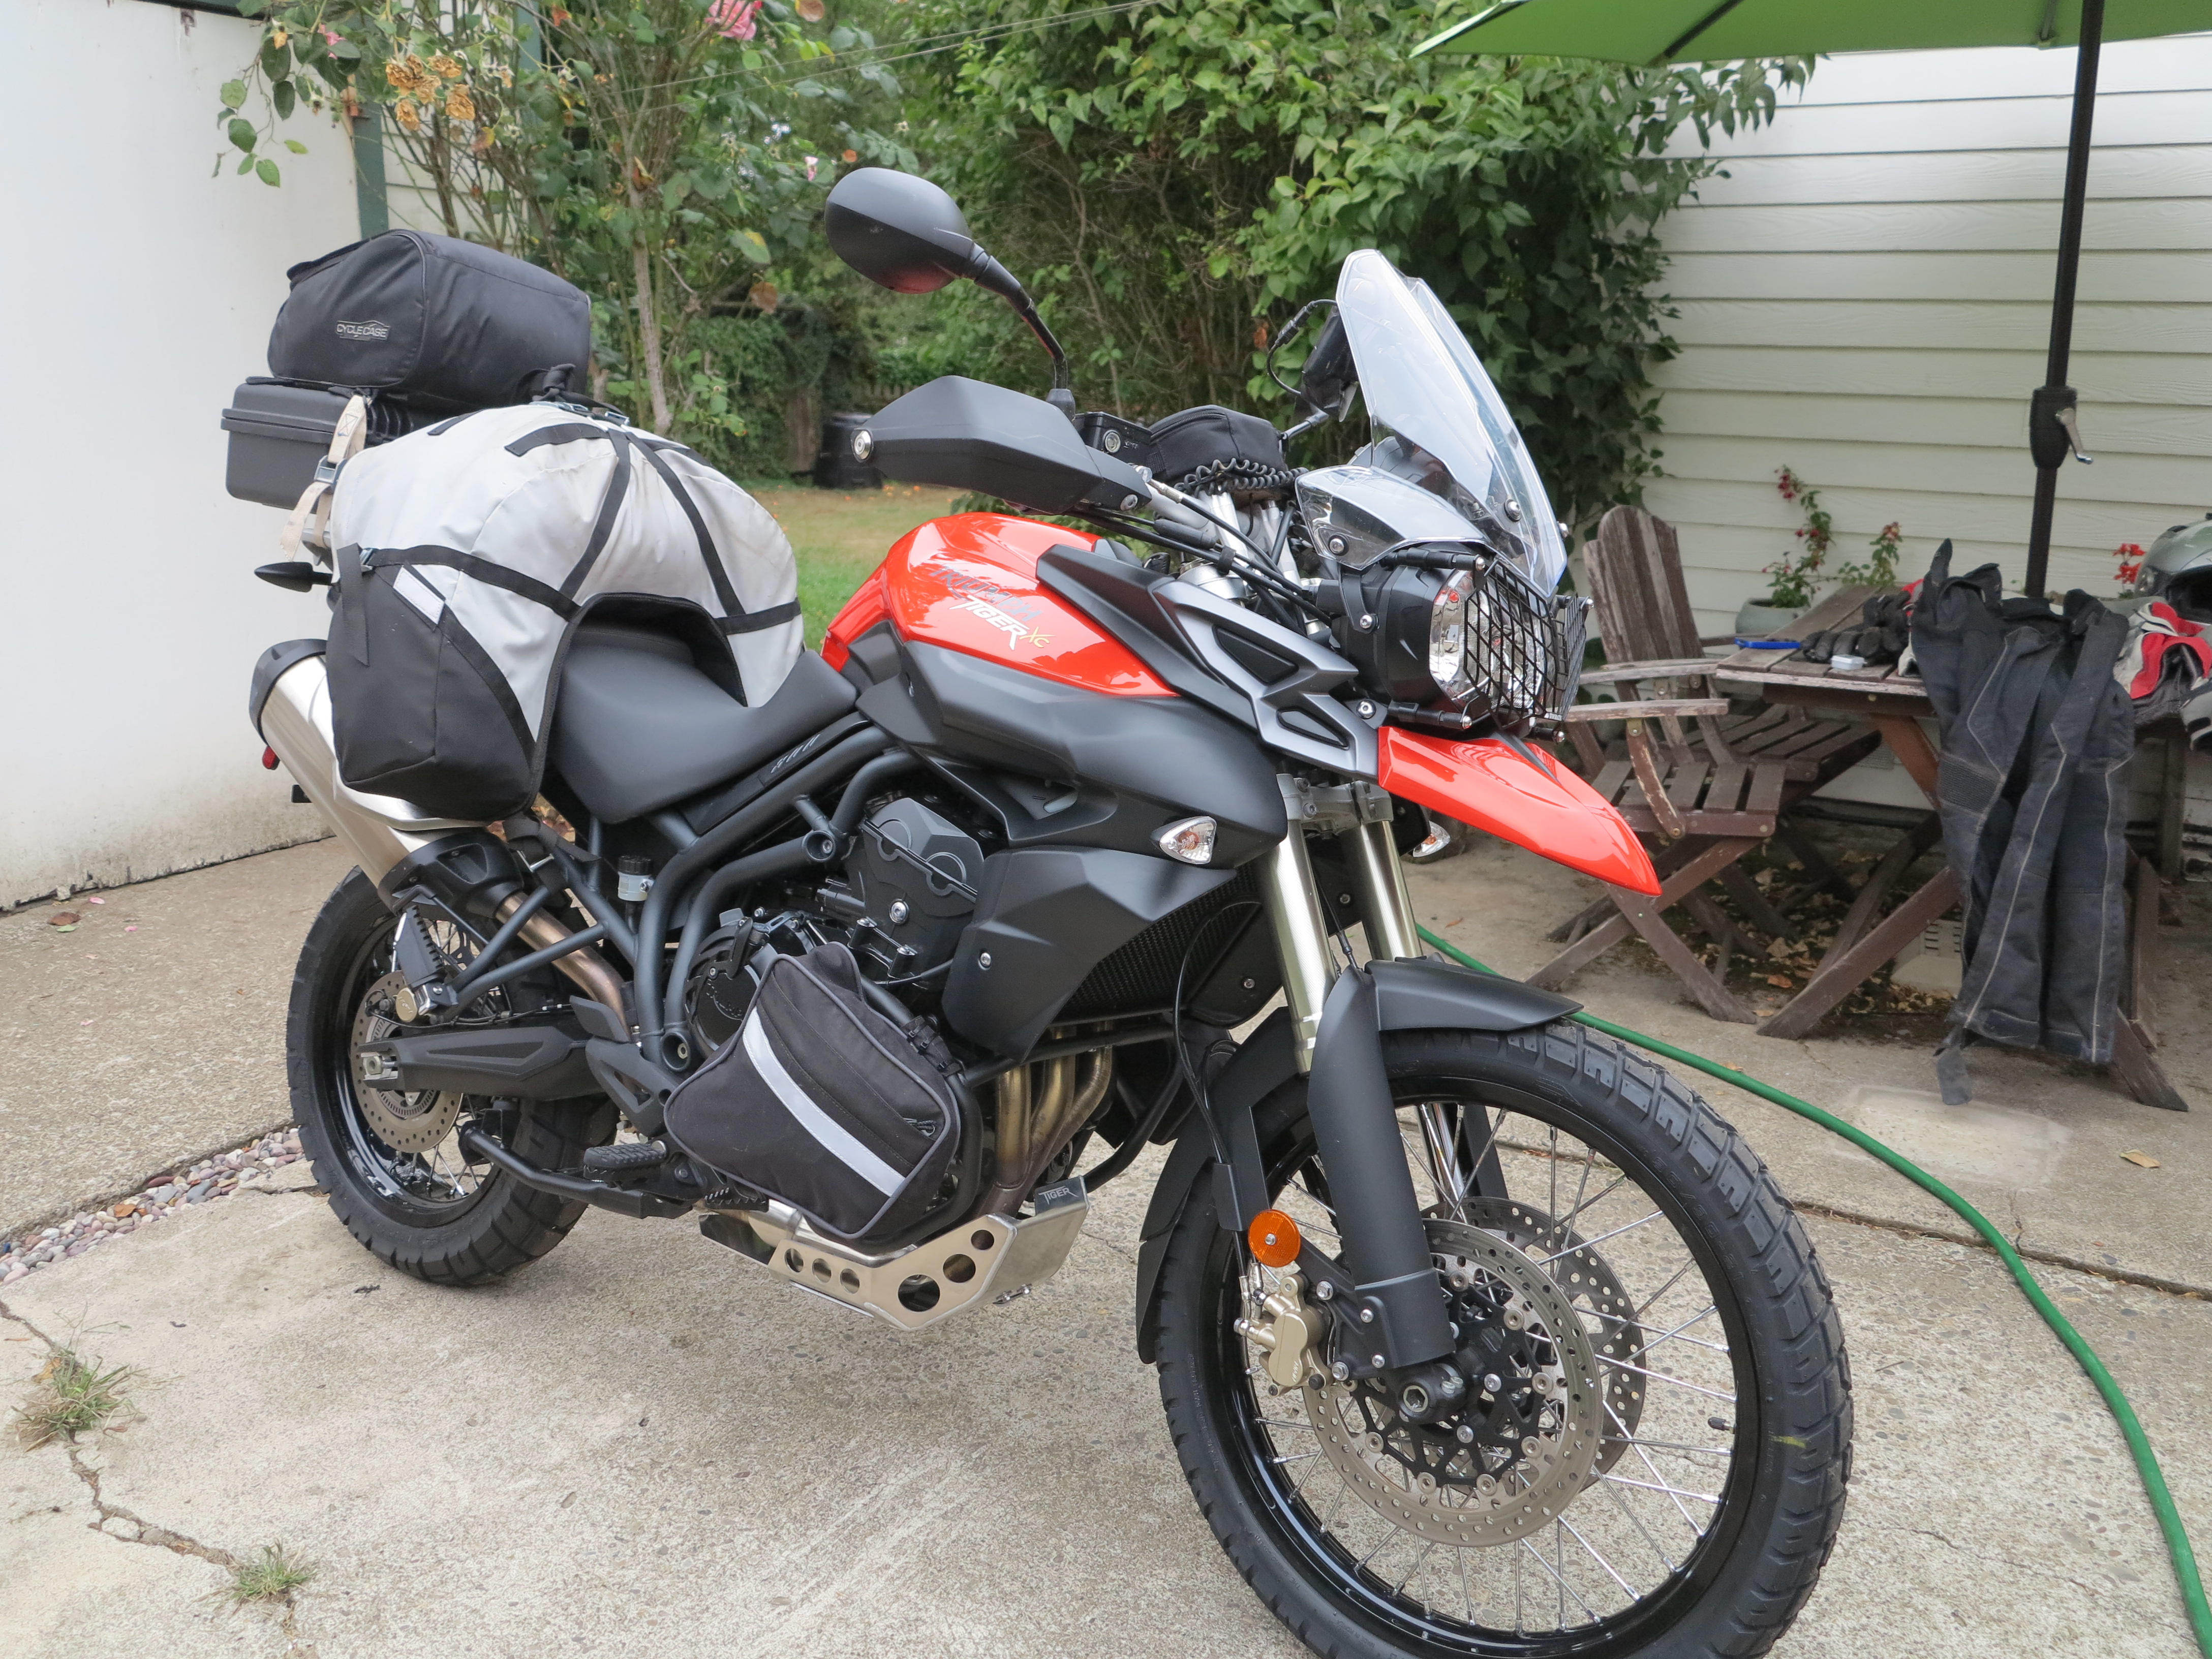
Fully farkled and ready to go on an adventure, September 2013
I made a list of things to get, nothing too fancy like suspension work or exhaust, just the basics:
- Skid plate
- Engine guard
- Front fender extender
- Rear spring protector
- Headlight protection
- Pre-filter for the air filter
- Larger foot print for side stand
- Tires with a bit more of dirt bias
- 12V power to the top box
- Bags (I already had the Giant Loop bags for this bike, and had already installed the pelican top case).
It is interesting how we are now solidly on the purchase on line mode. We cannot see or manipulate the actual goods before purchasing them, but we gain access to a wider range of options and information from national and international vendors.
From Australia came the Uni pre-filter for the engine’s air filter. Triumph, Tour-a-tech and Powerlet were some of my other web-based purchases, all from domestic sites representing companies from England, Germany, and the USA. The only local purchases was a set of car mats, from which I engendered a protector for the rear spring, and the Shinko tires, purchased at and installed by Cycle Parts, the local Triumph shop, during this bike’s regular maintenance.
In mid July I started getting the packages in the mail. When all the parts were available I set one Sunday aside to install everything at the same time. It was a great Sunday, working around the bike was a good bonding experience with it after all, almost as good as if I had taken it for a ride.

Farkles gallore, ready to be installed
First was the tires. I selected the Shinko 705 for the price and its promised true dual purpose for road and dirt. As I mentioned before, they were installed at the Triumph shop during the bike’s regular maintenance visit.
My true work started with the skid plate and engine guards. I selected these parts from the Triumph catalog, assuming Triumph designed them for the best fit and purpose possible. I know some people want to also protect “plastic parts” of the bike. It results in bars going all over the bike which in the end may offer higher leverage that can generate more damage to vital parts of the bike (motor and frame) on a crash. My priority was to protect the engine case only. The installation of these two parts, with no instructions whatsoever, went very well. It was very straight forward.
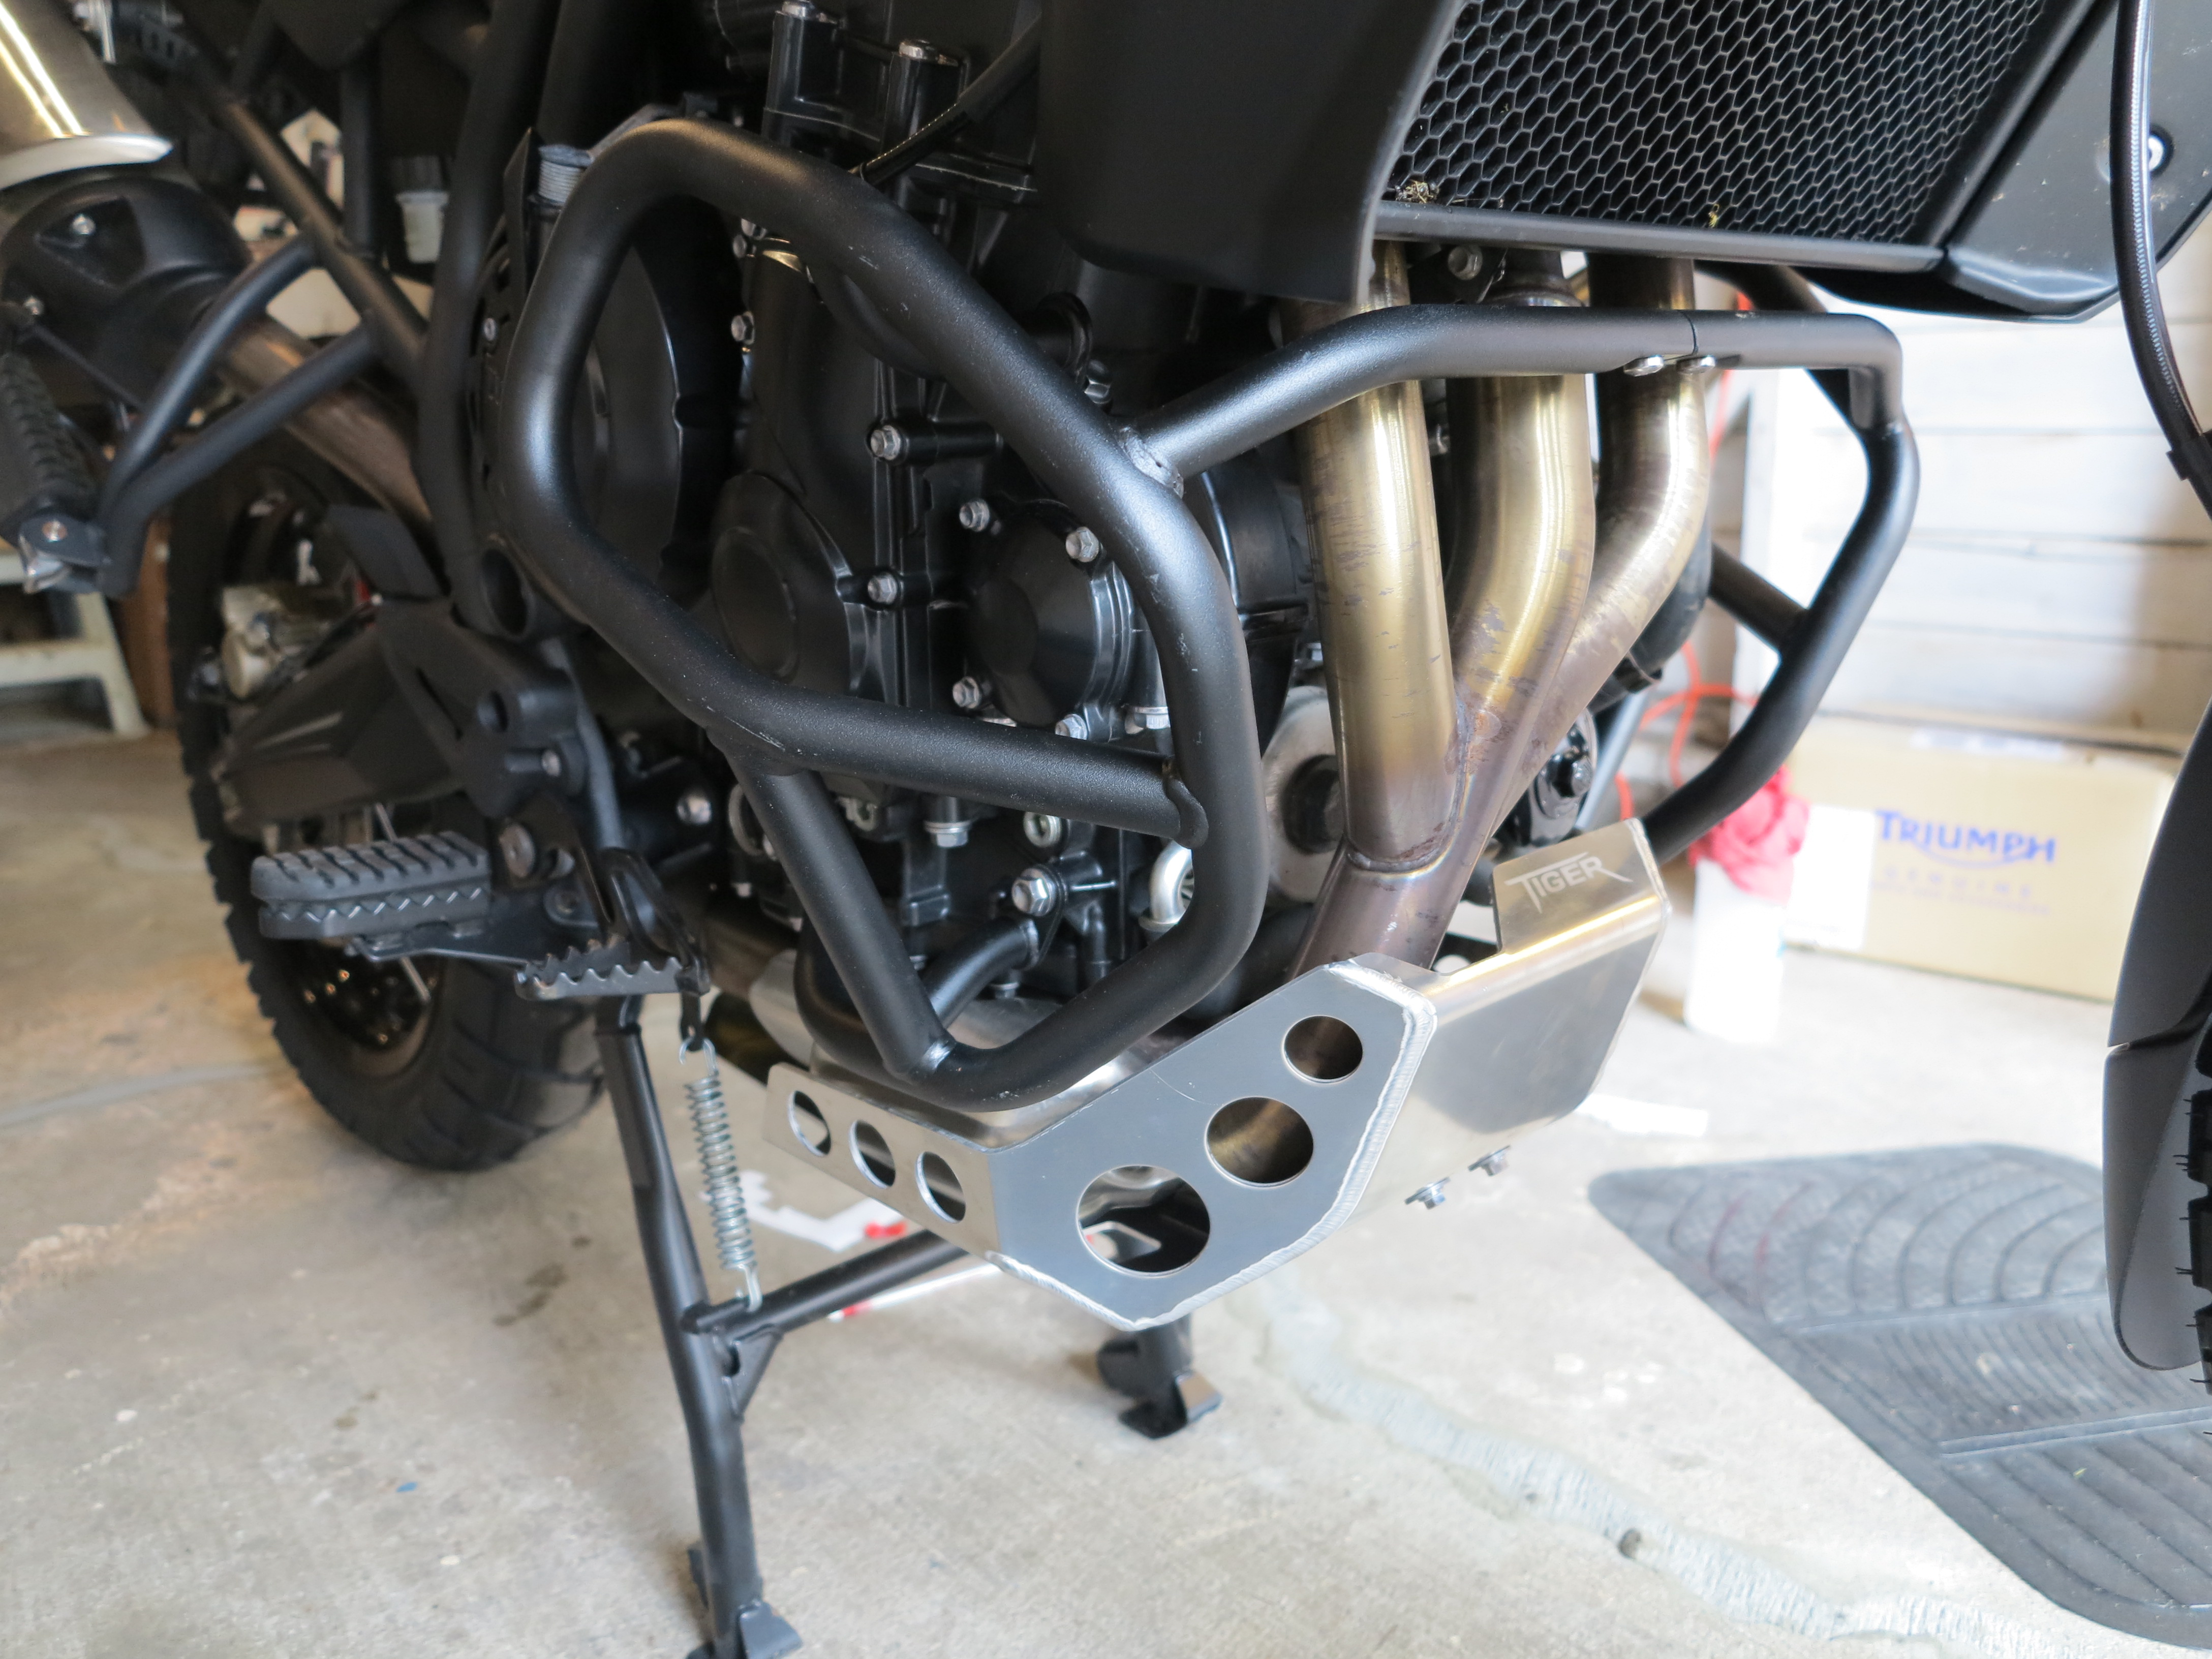
Perfect fit, straightforward installation of engine guard and skid plate
Next was the headlight protector. I learned a lesson riding my Yamaha when its headlight lens broke when following Doug on a fire road. The replacement cost for that assembly is $230. I did not research what the cost to replace one of these fancy Tiger headlights is, but certainly will be more than the Yamaha’s $230. I went with the rugged look of the Tour-a-tech part. It was a very easy installation process with instructions and easy diagrams to follow.

Tour-a-tech headlight protector
Next was the extension of the side stand footprint. Also from Tour-a-tech, very easy installation as well.

Wider footprint for side stand
I also installed a fender extender for the front fender. This came from the Triumph catalog. It is installed with double-sided tape. I may need to reinforce it with screws at some point. It is holding well with the double-sided tape so far.

Fender extender
For a fender for the rear tire I bought the cheapest set of car mats available and cut a piece from one of the mats to match the width and the length from the outside of the battery box down to the swing arm and installed it with double-sided tape as well. I had to make a drawing of the attachment area, which is quite irregular at that point, to cut the mat to match it and have the largest contact patch possible on the battery box. It is holding well so far. And I have plenty of material for re-installation and re-design if needed.

Rear fender a cut out from a car mat
Next was the Uni pre-filter. This bike’s air filter is under the tank making regular maintenance a chore. The best way to deal with this problem is to be preventive about this issue. The Australians took advantage of the situation designing a nice pre-oiled pre-filter. It substitutes the under the seat snorkel. Let’s keep that area dry, though! And it needs some maintenance (cleaning and re-oiling), but at least you only need to remove the seat to work on it. Installation was straightforward but requires some finger dexterity to connect it to the air box.

Uni Pre-filter squeezes between the battery and the bike’s frame
Last action was to electrify the top box. This required a battery connection extending under the seat and going all the way towards the back and which is also ready for a battery tender. I also purchased a special Powerlet connector that allows the 12V wire to go through the top box. I chose to install it under the box, to prevent water leakage into the box.

Powerlet 12V extension from the battery
Let’s see if it will work.

Powerlet connector inside the top box
I got two bags that I attached to the engine guards. These bags are designed for a another bike, but they somewhat work in the Triumph. Not the best fit, I needed to make some adjustments, use zip-ties to attach them to the bars. They are handy to carry spare tubes and tools. But they are not water proof. That’s what you get for $60.
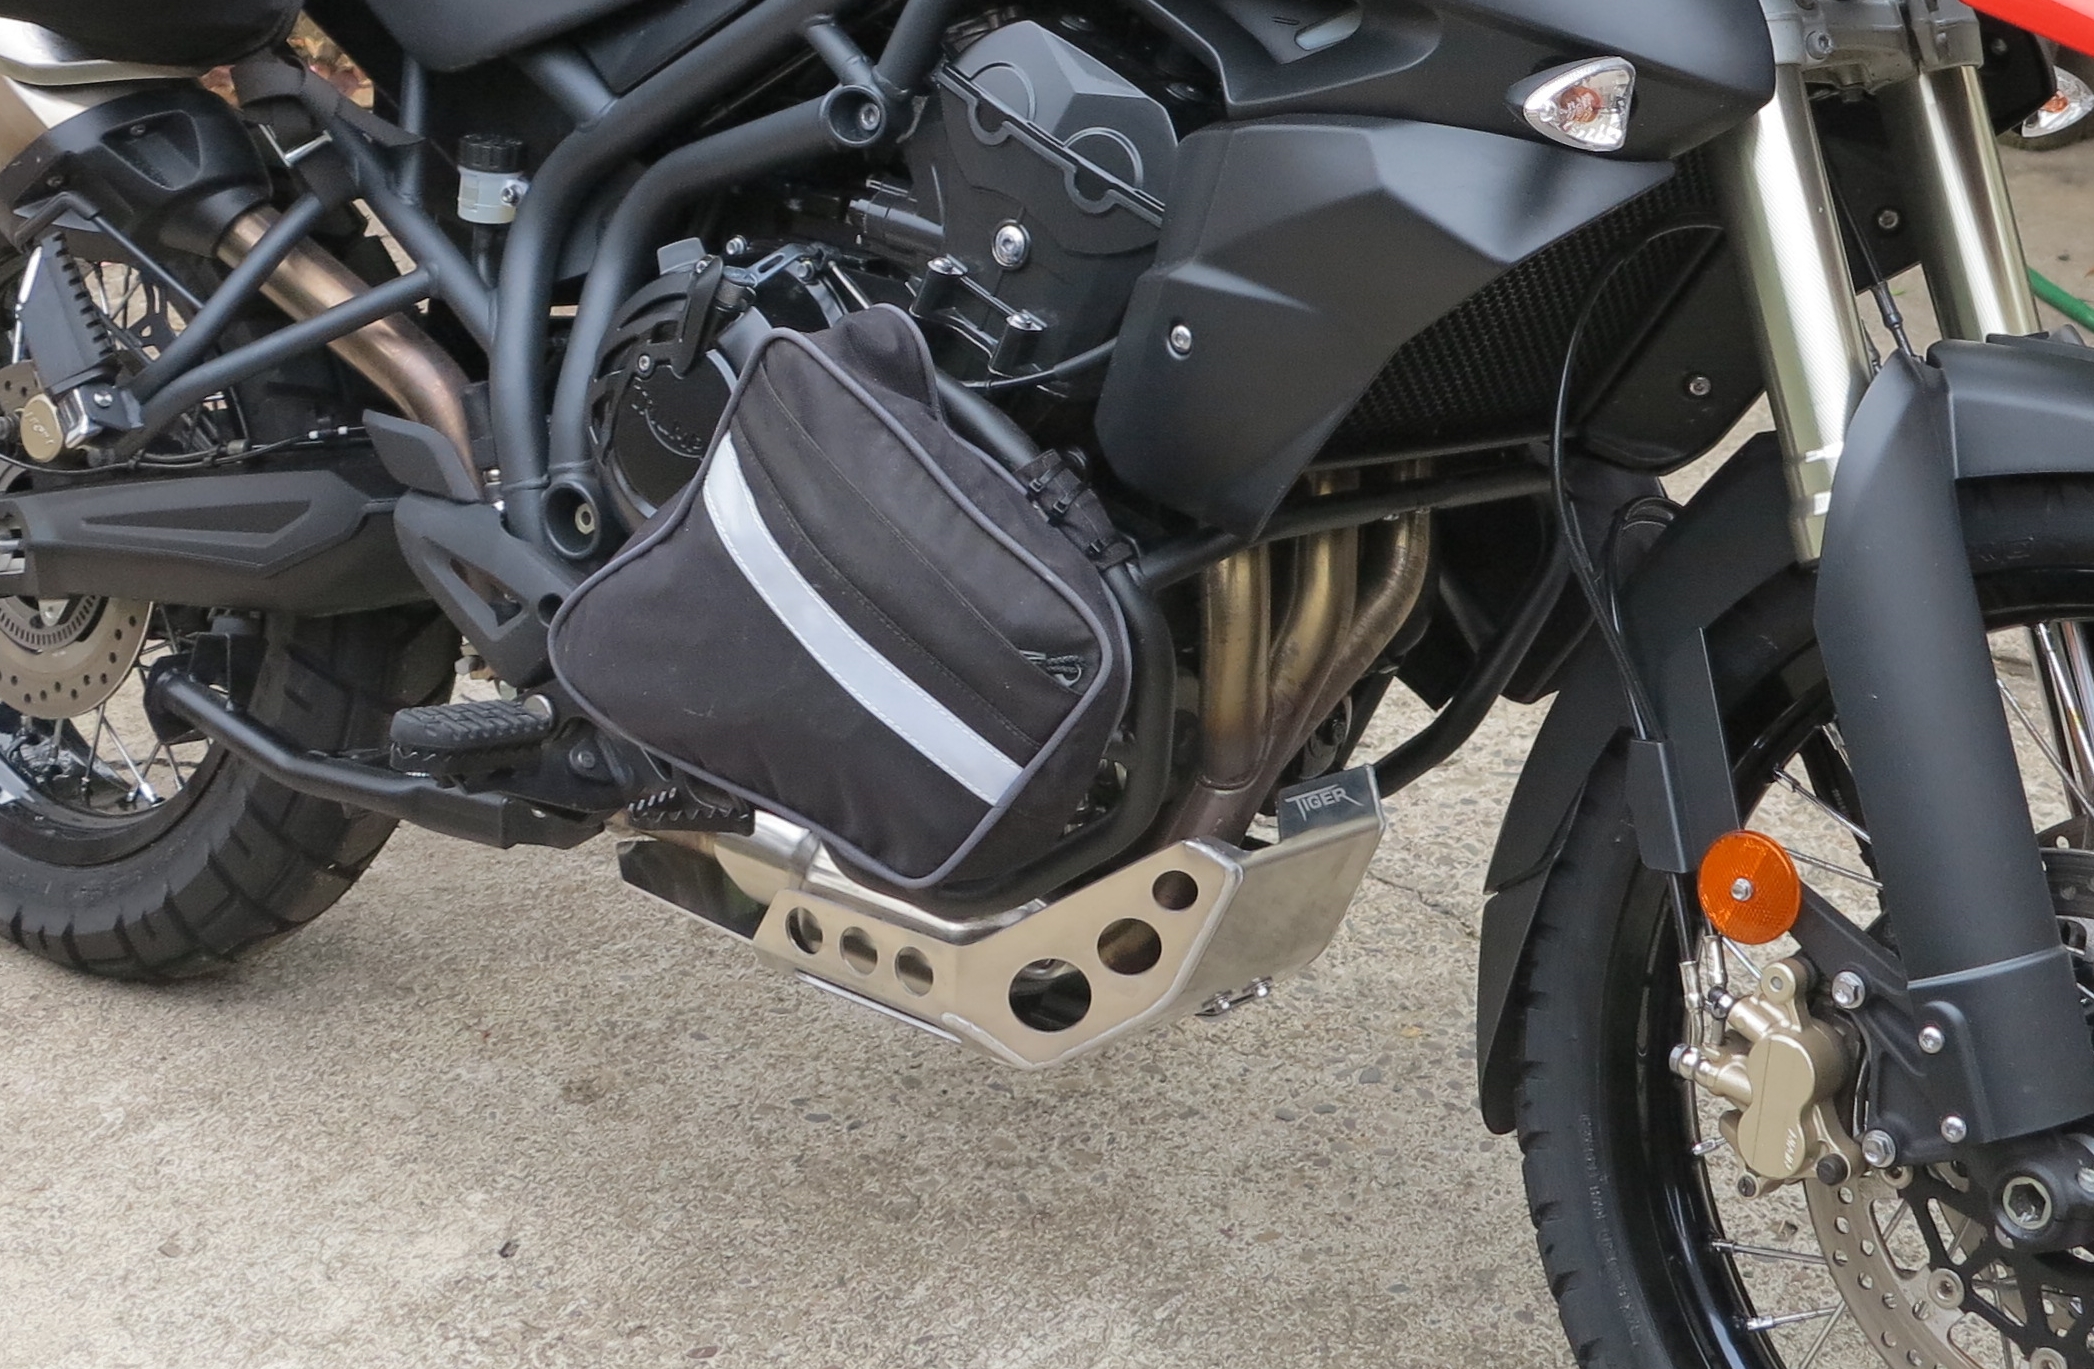
Tools and spare tubes bags.
I made a time-lapse video of the action. I misplaced the portion of the video the shows the installation of the skid plate and engine guard. But you can see most of the action on this short video. The bags were installed on another day.
All I have to say about this particular Sunday is that I had a great time in my garage working on this bike. This year I cleaned this garage up, got rid of the many unused construction materials that have been stored there from previous owners, patched the cracks on the concrete floor, built a nice work bench area and I now really enjoy my time there, either working on the bikes, getting them ready for a trip, or simply checking on the bikes every now and then. It is a great space where my mind wonders, daydreaming about the faraway places I haven’t visited by motorcycle yet.

Celebrating a great day around the bikes with a barbecue!
To complete a great Sunday with the bikes, and to celebrate a job well done with the Triumph, I fired the grill for a nice gaucho dinner.
Next, I will set the WR250R for a nice trip to the Steens Mountains. I have great photos to share, great adventures to talk about! Stay tuned!

Cesar:
Looks like you are getting ready for that trip to S.A. I don’t know if you followed “Pork and Corn” who lives in Portland and bought a new Tiger 800 and went to S.A.
trip link
http://www.advrider.com/forums/showthread.php?t=853603
and bike preparation
http://advrider.com/forums/showthread.php?t=824636
I was thinking of another bike but our Government insurance is just too much to absorb.
can’t wait to see photos from your next adventure
bob
Riding the Wet Coast
I could only wish I could make that trip to South America, Bob. If I would venture in such a trip I would add a better windscreen and find out how to keep the infamous idle stepper motor cleaned and lubed. Yes, I’ve read the Pork and Corn report. I always wondered about the problem on his bike, if it had a relation to the stepper motor. Yes, we get it easy here in the USA in terms of taxes.
Looking good. All those farkles will make the function a little better as an adventure bike.
We have a friend who bought one of the XCs as well and if he could keep it out of the ditch he’d put some more farkles on it too. Well, he did just put some after market fog lights and engine guards on it. We’re hoping they are ditch deterrents.
Thanks Trobairitz. Indeed, it brings the adventure spirit to the bike. I bet the engine guards on your friend’s bike are not ditch deterrent, but at least the engine guards can keep the motor running after he’s been on the ditch with the bike.
For some reason, Triumph only makes its instructions available on line at http://www.triumphinstructions.com/ . It’s too late now, but you can probably get the instructions for your skid plate and engine guard there.
I am also planning my bike’s winter upgrades. But this weekend felt more like summer than winter. I took a short solo ride into the Umpqua valley yesterday. It was gorgeous.
Yes, too late now for the instructions. Thanks for the link anyway. In any case, they went in without a problem. I was out of town this last weekend, missed the sun, missed a chance to go for a ride. I’m glad you (and probably many others) had a chance to enjoy the weekend.
KernelBob. I too equipped my 800XC similar to yours. The problem with Triumphs skid plate is that any large impact on the front of the plate will push it into the header. I found this out the hard way, and the header is not cheap. It is the cutout on the front that will cause the damage. The rubber mounts shear and allow the gorse to push the plate backwards. Just an FYI you may want to protect the header too.
Very good point. I actually have a dent on my plate already and I don’t even know how that got in there, but it seems like a rock was thrown from the front tire.